ENGLISH EDITION · INSIDE THE CORD
What Does 1.5SQ Mean? Reading the Copper Inside a Subony Cord
A small marking becomes easier to understand when the conductor, insulation and outer sheath are seen separately.
01 · Start with the part the number describes
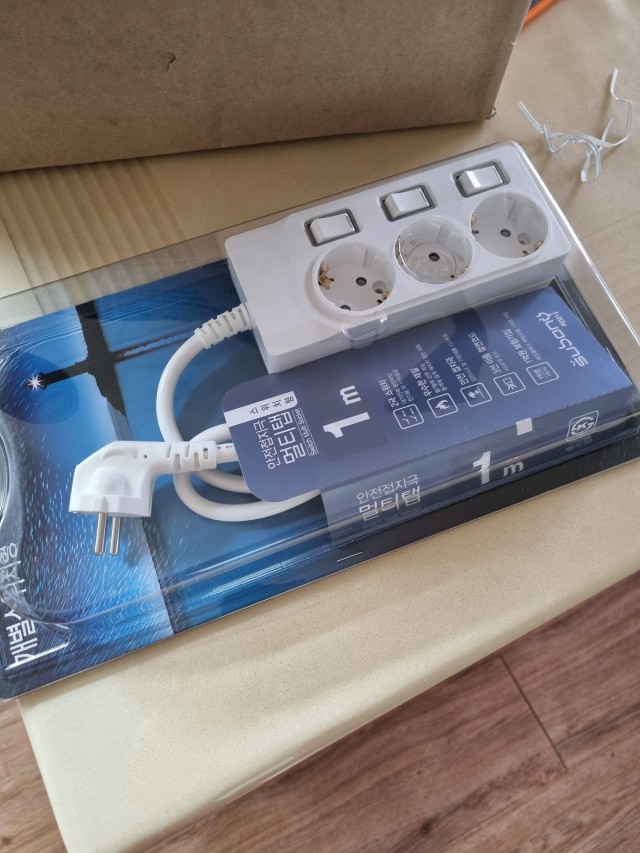
A power strip usually draws attention to its sockets, switches and cord length. The small print on the cable receives less attention, even though it describes another part of the product. The term 1.5SQ is commonly used to refer to a nominal conductor cross-sectional area of 1.5 square millimetres. It does not describe the diameter of the complete white cord that you hold in your hand.
Imagine looking straight at the end of a cable. Several different materials appear in that view. There is the outer covering, the insulation around individual cores and the metal inside them. The size designation concerns the conductor, rather than the outline enclosing all those materials. This distinction is the starting point for reading the marking correctly.
Nominal size is a standardized designation. Conformity is assessed using the applicable conductor requirements, including electrical resistance; it is not established by measuring the outside with a ruler. That is why a thicker-looking cord cannot, by appearance alone, prove that its copper conductor belongs to a larger nominal size.
02 · Give each layer its own job
The copper conductor provides the electrical path. Insulation surrounds each conductor and separates it from the others. An outer sheath then encloses the group of insulated cores and forms the outside of the flexible cord. These parts work together, but their jobs should not be confused with one another.
When you feel the thickness of a cord, you are feeling the combined construction. Both insulation and sheath contribute to its external dimensions. A generous outside diameter is therefore not a direct measurement of the amount of copper inside. Equally, discussing copper alone leaves out the layers that make it possible to enclose several conductors in one cord.
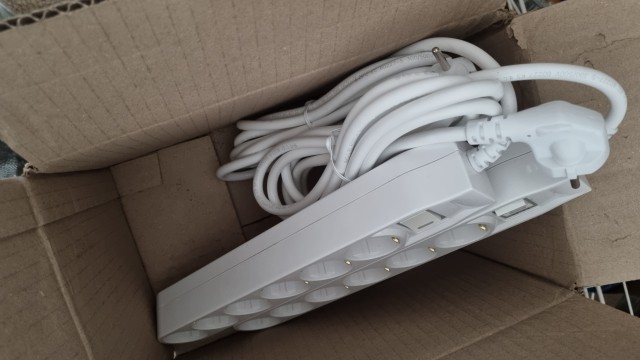
The useful way to look at a Subony power strip is to connect these details rather than rank the product by one visual impression. Read the cable designation, examine the intact outer surface and follow the cord towards the entry into the housing. Each observation tells you something different about the finished product.
03 · Explore the structure without opening the real cord
The interactive model offers three views: the complete cord, its three insulated cores and the copper inside one core. Start with the complete view to locate the outer sheath. Then separate the cores and follow the change from one combined cord to three distinct insulated paths. Finally, look inside a single core to locate the conductor.
Drag the model to inspect its face and side. The brown and blue cores represent the two supply conductors, while green and yellow distinguish protective earth in the illustrative construction. The model uses visible strands and enlarged spacing to make those relationships readable. Its strand count and layer proportions are explanatory choices, not manufacturing dimensions for a specific Subony model.
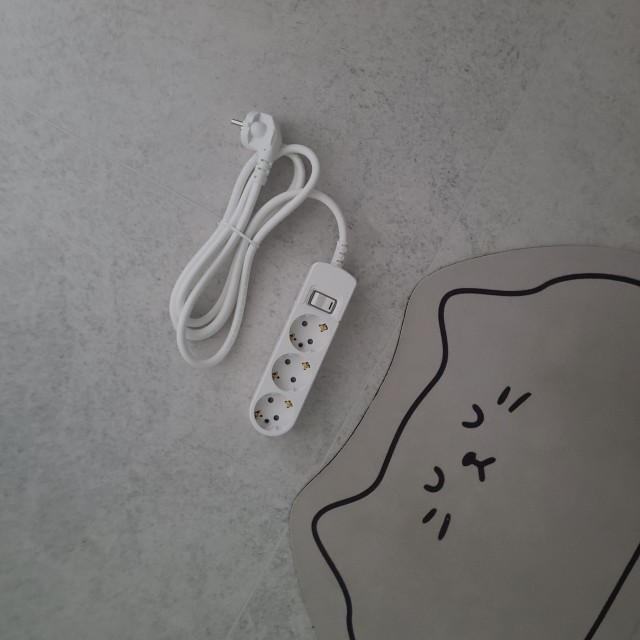
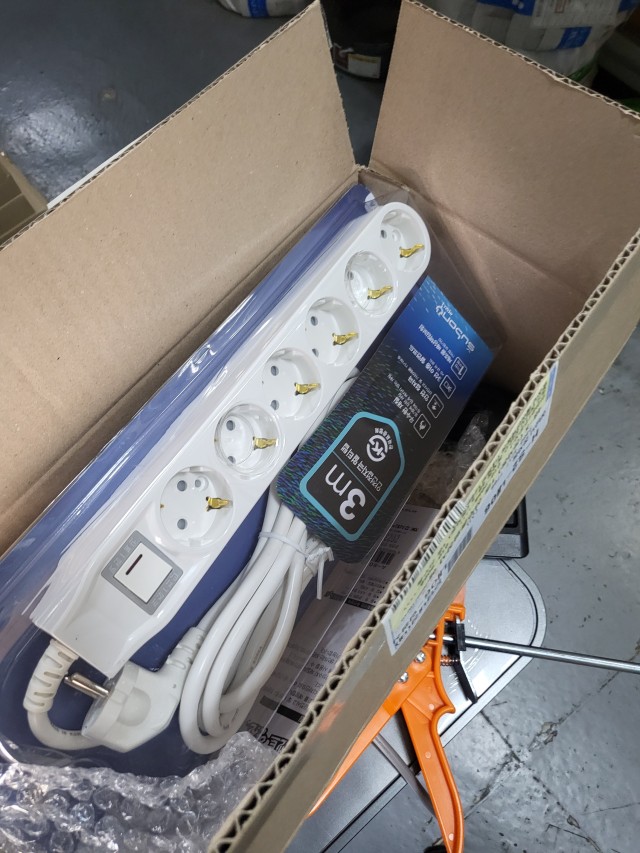
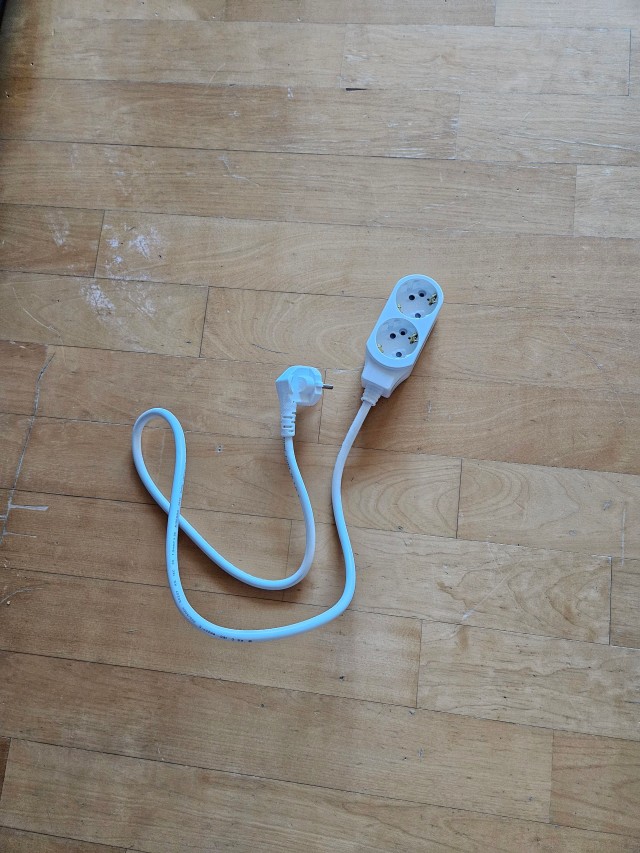
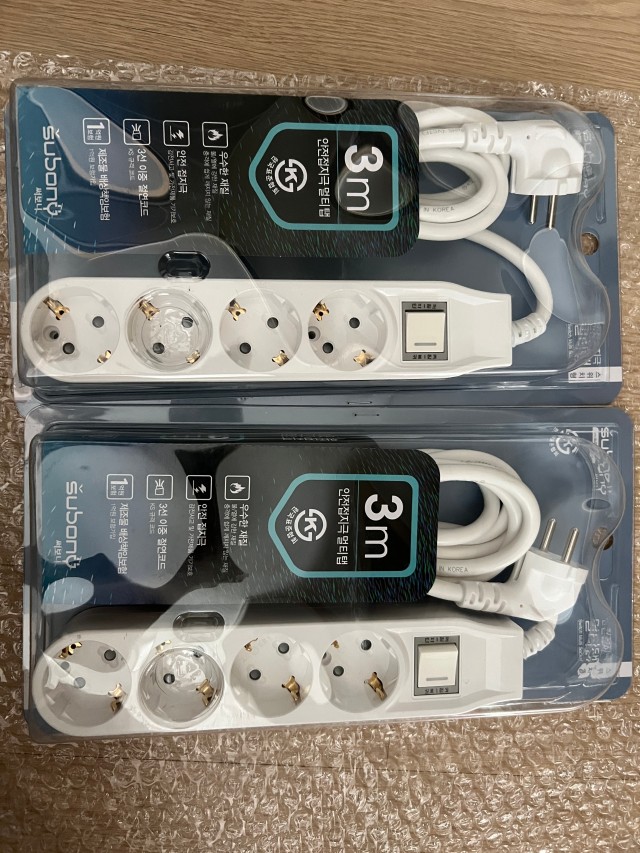
This is a way to understand where a marking belongs. It is not an instruction to strip insulation from a working cable. Keeping the real product intact allows the model to provide the inside view while the product photographs show how the cord, plug and housing appear in ordinary use.
04 · Many fine strands can form one conductor
A flexible cord can use a conductor made from a collection of fine metal wires. This is a stranded construction. The wires inside one insulated core work together as one conductor; they should not be confused with the three separately insulated cores inside the complete cable. The two descriptions refer to different levels of the construction.
As a geometric explanation, the metal cross-section is understood by considering the areas of the individual strands. Empty spaces between strands and the insulation around them are not copper. Actual compliance with a nominal cable size nevertheless depends on the relevant standard and test conditions, rather than a casual visual count of circles on a photograph.
Counting strands alone also cannot establish that one cord is better than another. Their individual sizes, material and overall construction matter. The useful observation is simple: several fine wires can make one continuous electrical path, and that path sits inside its own insulation.
05 · Read 3C × 1.5mm² as three separate cores
The Subony integrated-switch four-outlet, three-metre product page presents the cable specification as 3C × 1.5mm². In this description, 3C identifies three cores. The area designation belongs to each conductor. It does not mean that three conductors share a total of 1.5mm², or that each one has a nominal area of only 0.5mm².
In a grounded supply cord, two conductors form the supply connection through which the connected equipment operates. The third provides the protective-earth connection. Protective earth is not an extra ordinary load conductor that increases the available capacity. Adding the three nominal areas and calling the cord a single 4.5SQ supply conductor would misrepresent how the circuit works.
This reading applies to the specification being discussed. It should not be turned into a claim that every item sold under the brand has the same cable construction. Cordless socket adapters, for example, do not have an extension cord to describe. Match the specification to the selected product and model before drawing a conclusion.
06 · Keep length, area and rating in separate columns
A large 3m label on a package tells you about reach. A 1.5mm² designation tells you about nominal conductor area. Ampere and voltage markings on the finished power strip describe another set of characteristics. These numbers may appear near one another in a product description, but they do not replace one another.
A longer cord does not automatically allow more appliances to be connected. Likewise, knowing the conductor area does not reveal the number of sockets, switch arrangement or every condition of use. The finished product rating and its instructions still need to be read alongside the cable information. Avoid treating the cable number as a shortcut for the complete product specification.
A practical shopping sequence is to identify the model and socket arrangement first, choose the reach you need, and then read the cable and product markings together. With those questions separated, a detailed product page becomes easier to navigate. Each number answers a specific question instead of competing to look like the largest or most impressive feature.
07 · Follow the connection all the way to the housing
The electrical path does not end in a piece of copper. It continues through the plug, the flexible cord and the connection inside the housing. A usable power strip combines these parts into one product. Looking only at the cable area misses the places where the cord joins the rest of the assembly.
The plug finish, the cable entry and the condition of the outer sheath are therefore worth checking alongside the printed specification. A cord that is sharply bent at the entry or trapped beneath furniture needs a better arrangement; its area designation is not a reason to ignore its physical condition. Let the cord leave the body without forcing an abrupt turn.
There is no need to open the housing or remove insulation to perform this ordinary check. Examine the intact product, keep its identification available and ask the seller about an unclear marking or suspected damage. The purpose is to understand what you have, not to turn an everyday product inspection into an unqualified electrical repair.
08 · Use the number to make a clearer choice
Once the layers are separated in your mind, 1.5SQ becomes a more useful piece of information. It identifies a nominal conductor size, rather than the external diameter or length of the cord. In the three-core example, the designation applies to each conductor; protective earth remains a separate protective connection with its own role.
The next time you compare Subony products, start with the sockets and switching arrangement that suit the connection you are planning. Then follow the cord away from the body. Think about the conductor inside each insulated core, the sheath around the group and the point where the cord enters the housing. The familiar white cable now has a readable structure.
Choosing well is not simply a search for the biggest number. It means matching reach, product layout, cable designation and finished-product rating to their respective purposes. Reading them together gives you a more complete view of the power strip, while keeping each claim within what the selected model actually tells you.